Getting Started with NinjaScript Editor: Creating Your First Basic Strategy
In this guide, we will walk you through the step-by-step process of building a strategy from scratch. Whether you are new to trading or an experienced trader looking to automate your strategies, this tutorial will help you get started.


Introduction
Welcome to this practical tutorial on creating your first basic strategy in NinjaTrader 8 using the NinjaScript Editor. In this guide, we will walk you through the step-by-step process of building a strategy from scratch. Whether you are new to trading or an experienced trader looking to automate your strategies, this tutorial will help you get started.
Step 1: Opening the NinjaScript Editor
To open the NinjaScript Editor, follow these steps:
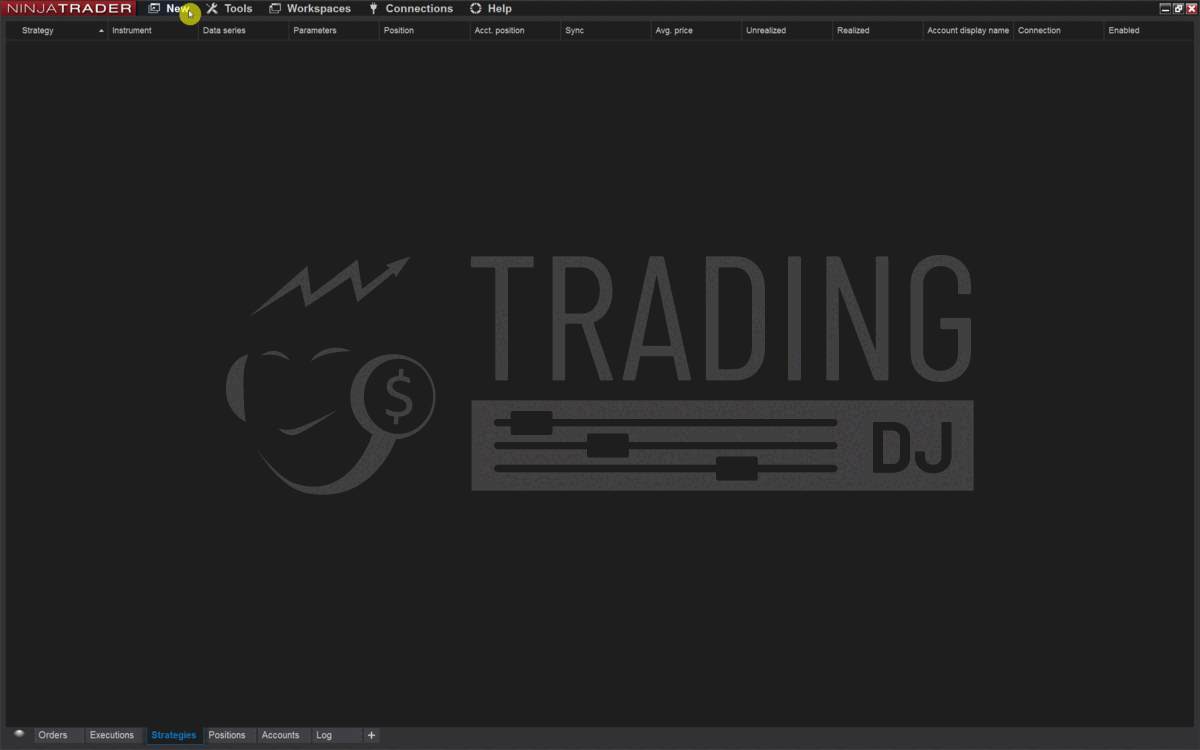
- Launch NinjaTrader.
- In the Control Center, go to the "New" menu and select "NinjaScript Editor."
Step 2: Opening the New Strategy Wizard
To create a new strategy, follow these steps:
- In the NinjaScript Editor, locate the "Strategies" folder in the "NinjaScript Explorer"
- Right-click on the "Strategies" folder and select "New Strategy" from the context menu.

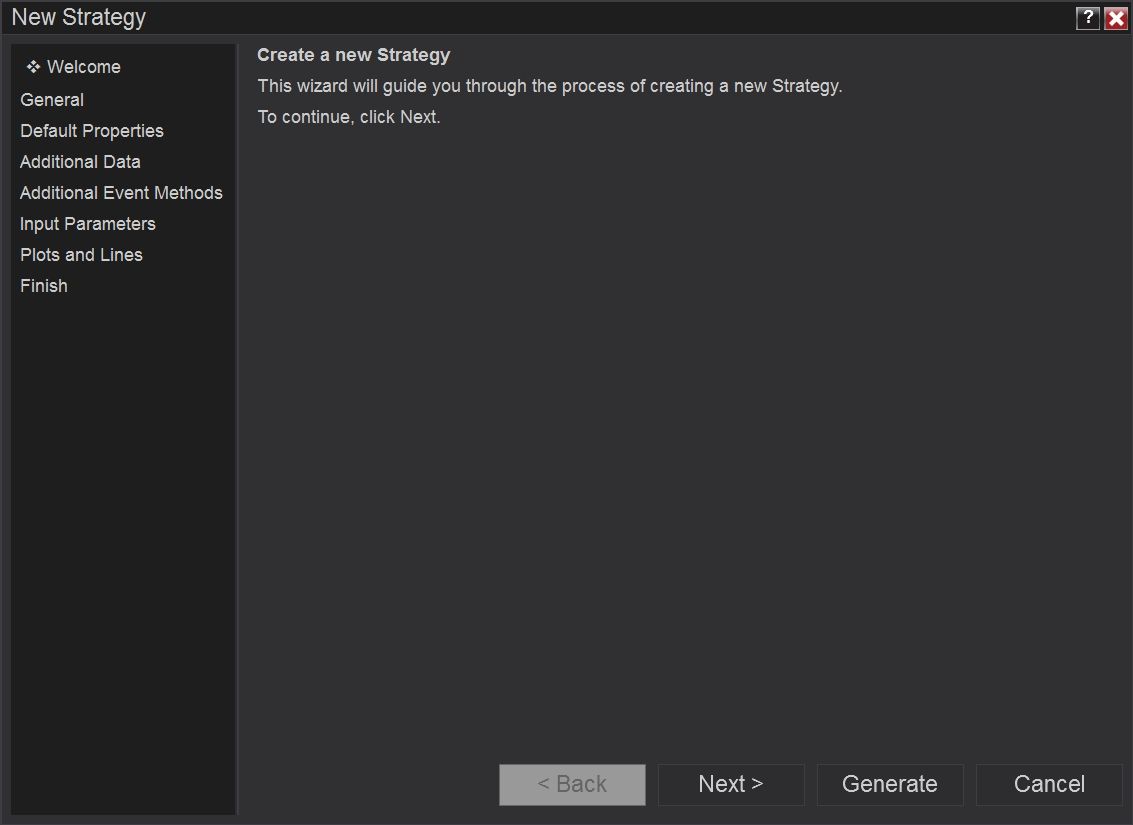
The New Strategy Wizard in NinjaTrader 8 is a user-friendly tool that helps you create a new strategy step by step. It guides you through different categories, allowing you to customize various aspects of your strategy.
- Welcome: Provides a brief introduction and overview of the New Strategy Wizard.
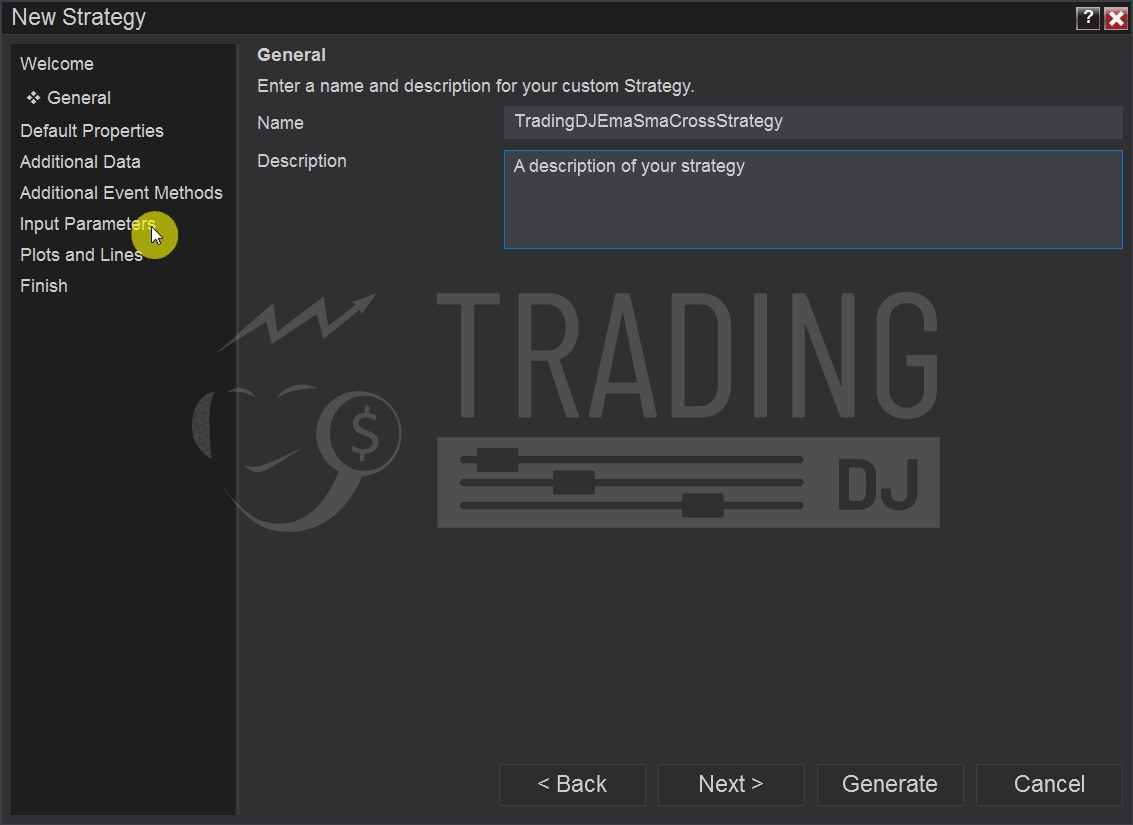
- General: Allows you to specify the name and description of your strategy.
- Default Properties: In the Default Properties category of the New Strategy Wizard, you can set default values for various properties of your strategy. These properties define the behaviour of your strategy when applied to a chart. Along with commonly used properties like Calculate, you can customize other aspects such as entries per direction, exit on session close, and minimum bars required. You can refer to the official documentation on the NinjaTrader website for a comprehensive list and more details.
- Additional Data: Allows you to define additional data series or objects required for your strategy's calculations. It's important to note that if you use an indicator that relies on another data series for its calculations, you will need to add that data series here. This ensures that the required data is available to the indicator, even if you don't directly use it in your strategy. Be sure to consult the documentation of the specific indicator you are using to determine if it utilizes another timeframe.
- Additional Event Methods: This section allows you to add extra event methods to your strategy's code, in addition to the OnBarUpdate method. These additional event methods can include OnOrderUpdate, OnPositionUpdate, and others. By adding these methods, you can handle specific events related to orders, positions, and other aspects of your strategy's execution. This gives you greater control and flexibility in implementing advanced trading logic and managing your trading activity.
- Input Parameters: Allows you to define customizable input parameters for your strategy.
- Plots and Lines: Allows you to configure the plots and lines that your strategy will display on the chart.
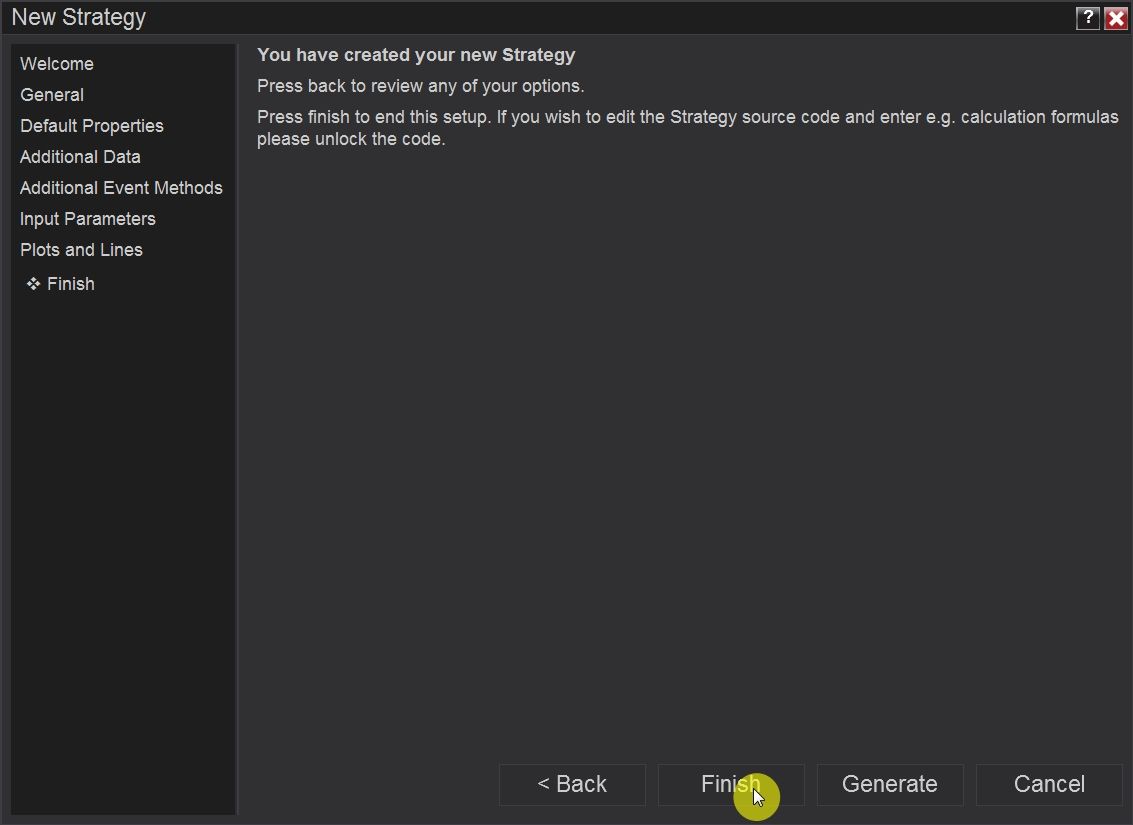
- Finish: Finalizes the creation of your new strategy and generates the initial code.
Step 3: Configuring Your Strategy
Follow these steps to configure your strategy using the New Strategy Wizard:
1. Start with the "General" category. Enter a suitable name and description for your strategy. Adding your surname as a name prefix (for example SmithEmaSmaCrossStrategy) helps prevent naming conflicts when importing other strategies. In this example, we will use TradingDJEmaSmaCrossStrategy
2. Proceed to the "Input Parameters" category. Define any customizable input parameters for your strategy, such as period, time, or any other settings you want to make adjustable. We will set two int parameters: "EmaPeriod" and "SmaPeriod"
Step 4: Generating the Initial Code
After configuring your strategy in the New Strategy Wizard, proceed to the "Finish" category to generate the initial code based on your settings. This code will serve as a starting point for your strategy's logic.
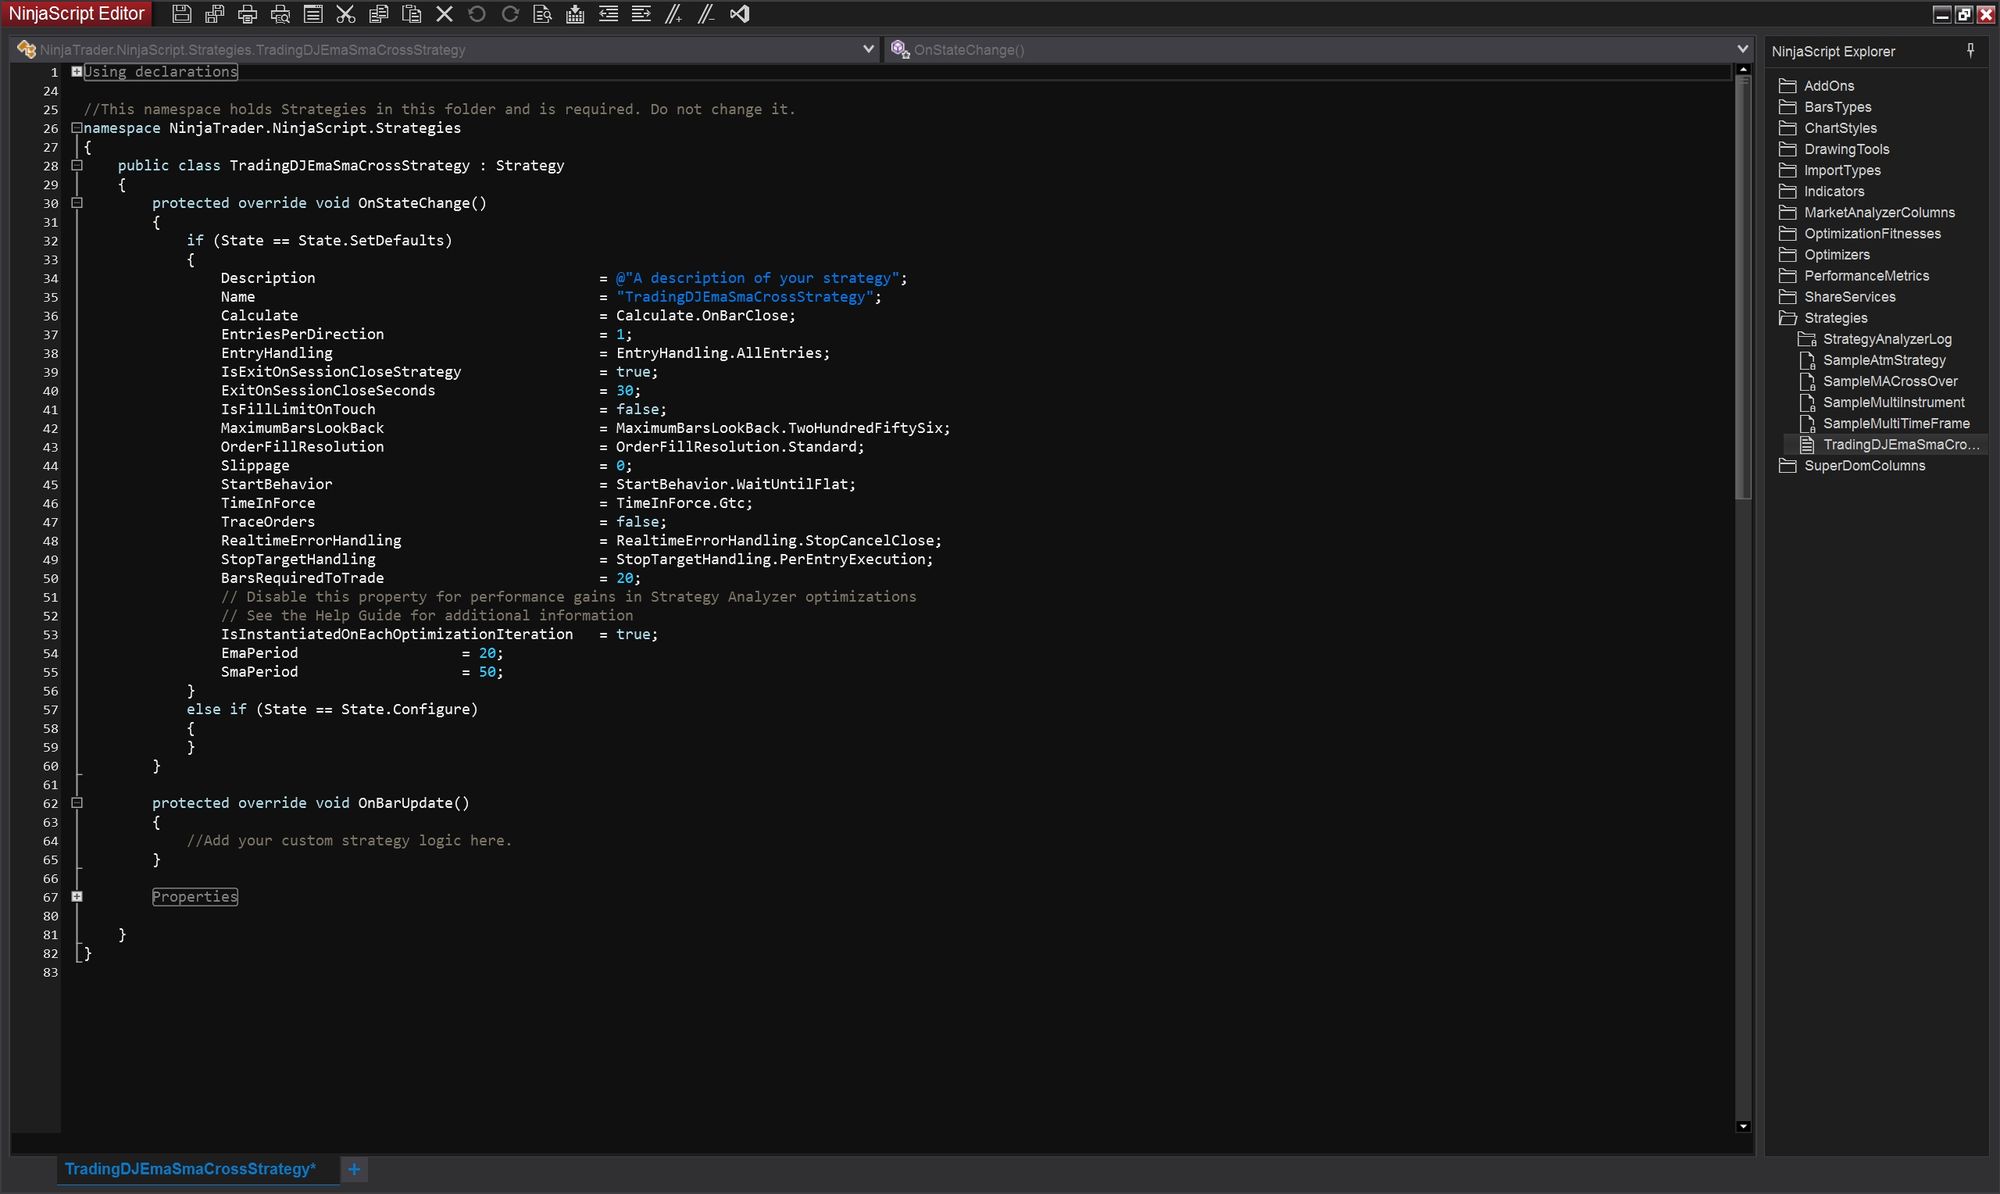
This is the code the wizard generated for you.
Step 5: Adding Functionality to the Strategy and Compiling
Now that you have created the basic structure of your strategy using the New Strategy Wizard, let's add some functionality to it by modifying the protected override void OnBarUpdate() method. In this example, we will add logic to detect a bullish crossover and enter a long position. To do so, we will use the same code that we used in the tutorial on how to write a basic indicator for NinjaTrader 8, but instead of plotting this information on the chart, we will enter a new long position. We will also check that we are flat Position.MarketPosition == MarketPosition.Flat before entering a position.
Here's the updated code for the OnBarUpdate() method:
protected override void OnBarUpdate()
{
if (CurrentBar < 1)
return; // We need to make sure that we have at least two bars loaded
if (Position.MarketPosition == MarketPosition.Flat
&& EMA(EmaPeriod)[0] > SMA(SmaPeriod)[0]
&& EMA(EmaPeriod)[1] <= SMA(SmaPeriod)[1])
{
EnterLong();
}
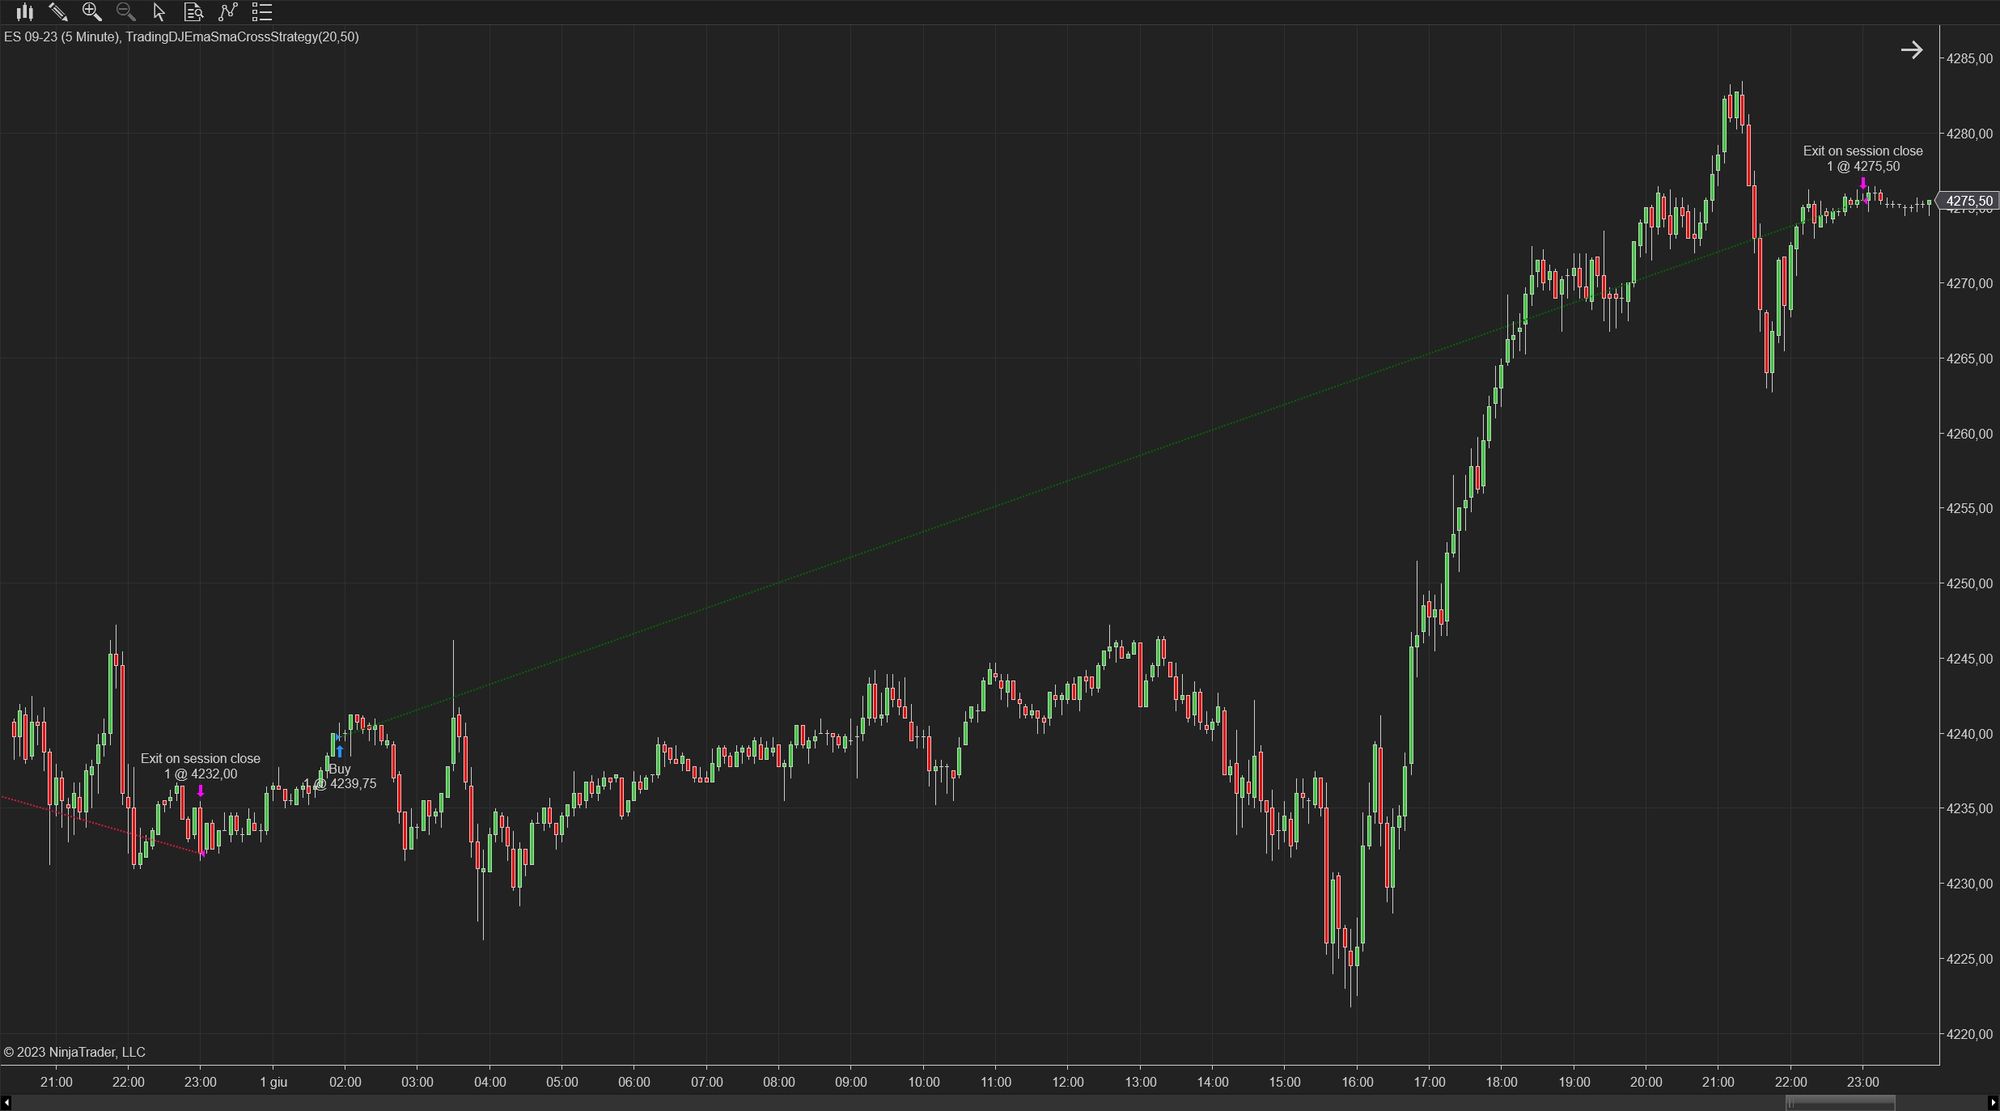
}If you compile your code and run a backtest you will notice that the position is closed on session close.
To add a fixed stop loss and target to your strategy, you can utilize the SetStopLoss and SetProfitTarget methods. Follow these steps to implement this functionality in your strategy:
- Locate the
OnStateChangemethod in your strategy code. This method is called when the state of the strategy changes. - Within the
else if(State == State.Configure)block of theOnStateChangemethod, add the necessary code to set the stop loss and profit target. This block is executed when the strategy is in the "Configure" state. - Use the
SetStopLossmethod to define the fixed stop loss level for your strategy. Specify the calculation mode (such asCalculationMode.Ticks) and the desired stop loss value. For example,SetStopLoss(CalculationMode.Ticks, stopLossValue)sets the stop loss at a specified number of ticks. - Similarly, use the
SetProfitTargetmethod to set the fixed profit target for your strategy. Provide the calculation mode and the desired profit target value. For instance,SetProfitTarget(CalculationMode.Ticks, profitTargetValue)sets the profit target at a specified number of ticks.
By incorporating these lines of code within the State.Configure block of the OnStateChange method, your strategy will have a fixed stop loss and target defined. Adjust the stop loss and target values according to your trading preferences and risk management strategy.
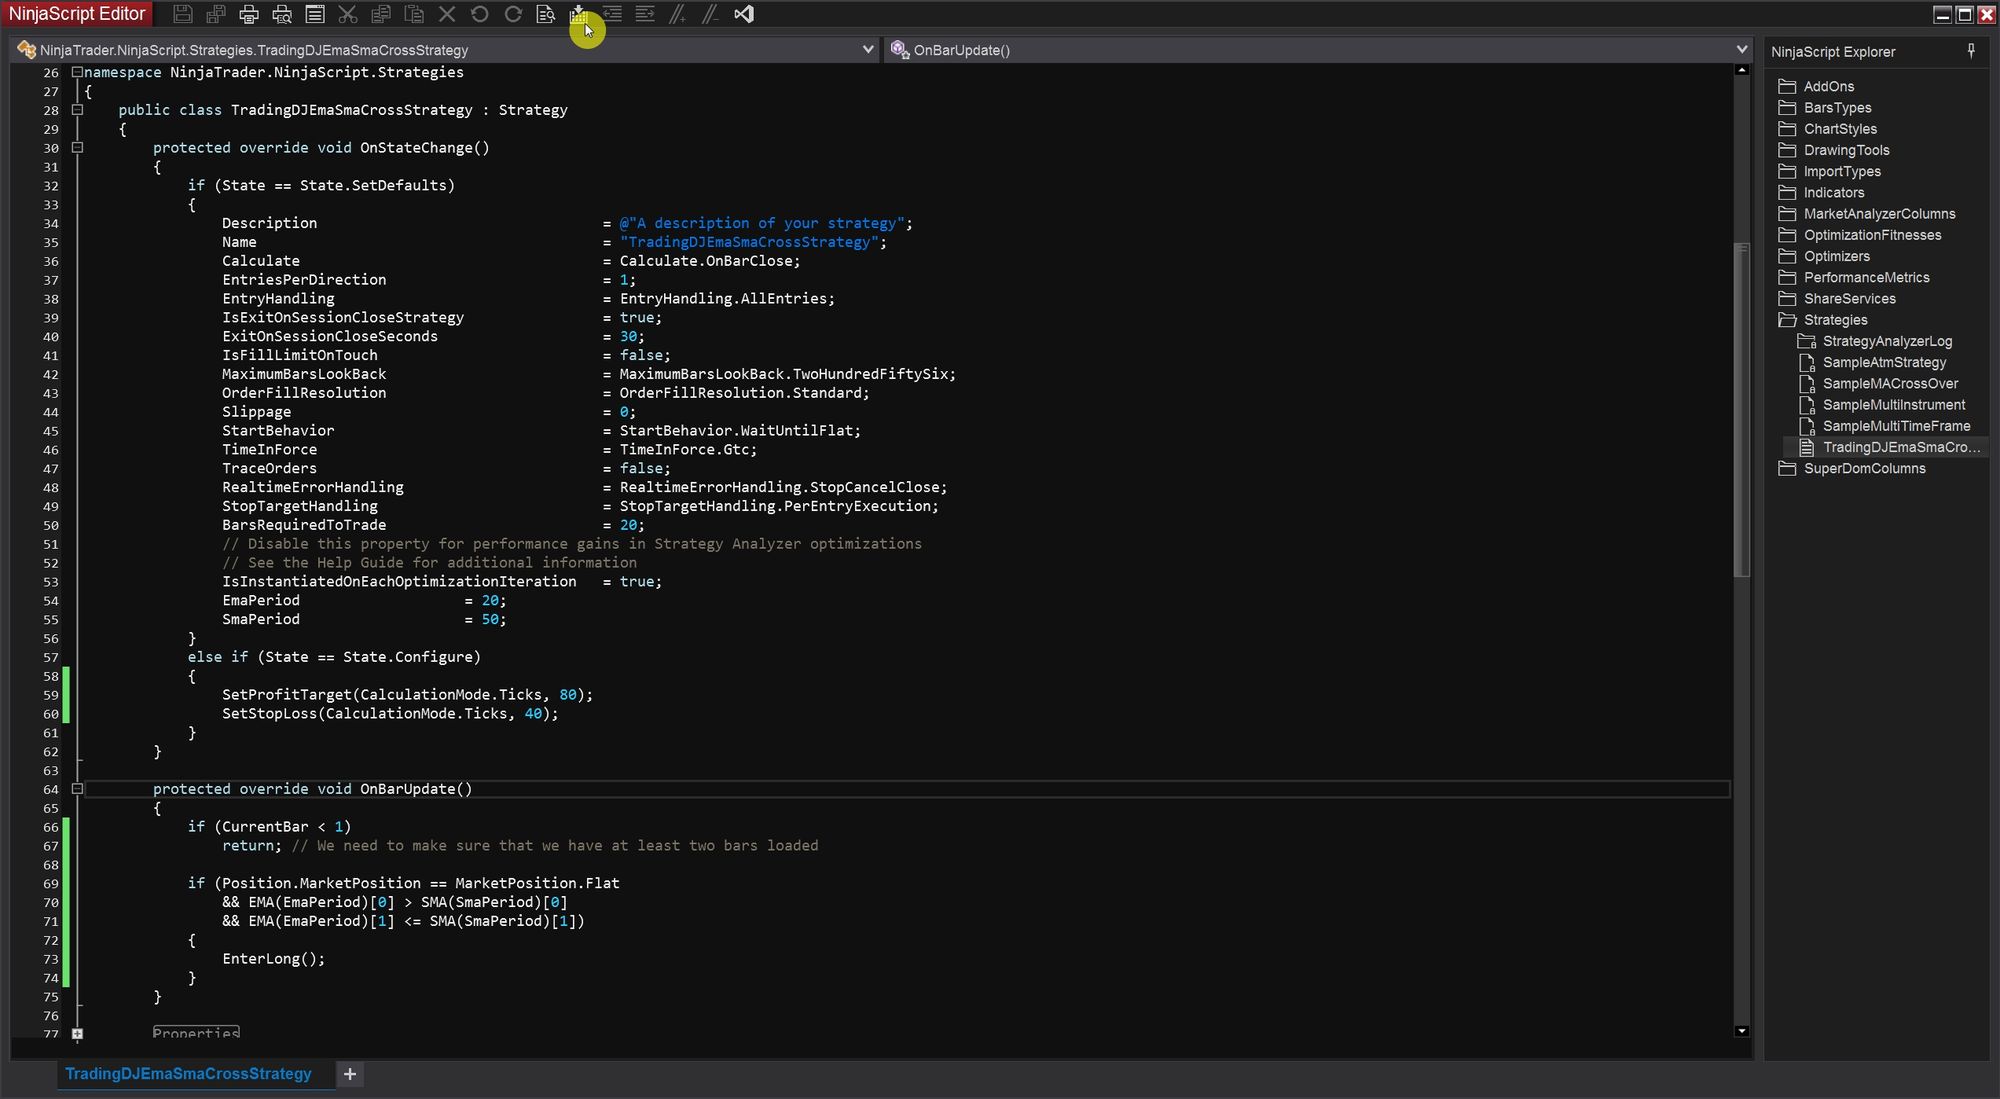
Here is the updated else if (State == State.Configure) block of the OnStateChange method:
else if (State == State.Configure)
{
	SetProfitTarget(CalculationMode.Ticks, 80);
	SetStopLoss(CalculationMode.Ticks, 40);
}
In the code snippet provided, we implement a specific scenario where the stop loss and profit target are set relative to the average entry price. In this case, the stop loss is set 40 ticks away from the average entry price, and the profit target is set 80 ticks away from the average entry price.
Compiling
Once you have added the desired functionality to your indicator, you can compile it to check for any compilation errors or warnings. To compile your indicator, follow these steps:
Save the modified strategy code by clicking on the "Save" button in the NinjaScript Editor toolbar or pressing Ctrl+S.
1. Click on the "Compile" button in the NinjaScript Editor toolbar or Right click inside the editor and select "Compile" to initiate the compilation process.
2. Wait for the compilation process to complete. If there are any errors or issues in the code, they will be displayed in the Output window at the bottom of the NinjaScript Editor.
3. If there are no errors or issues, the compilation process will be successful, and the strategy will be ready for use.
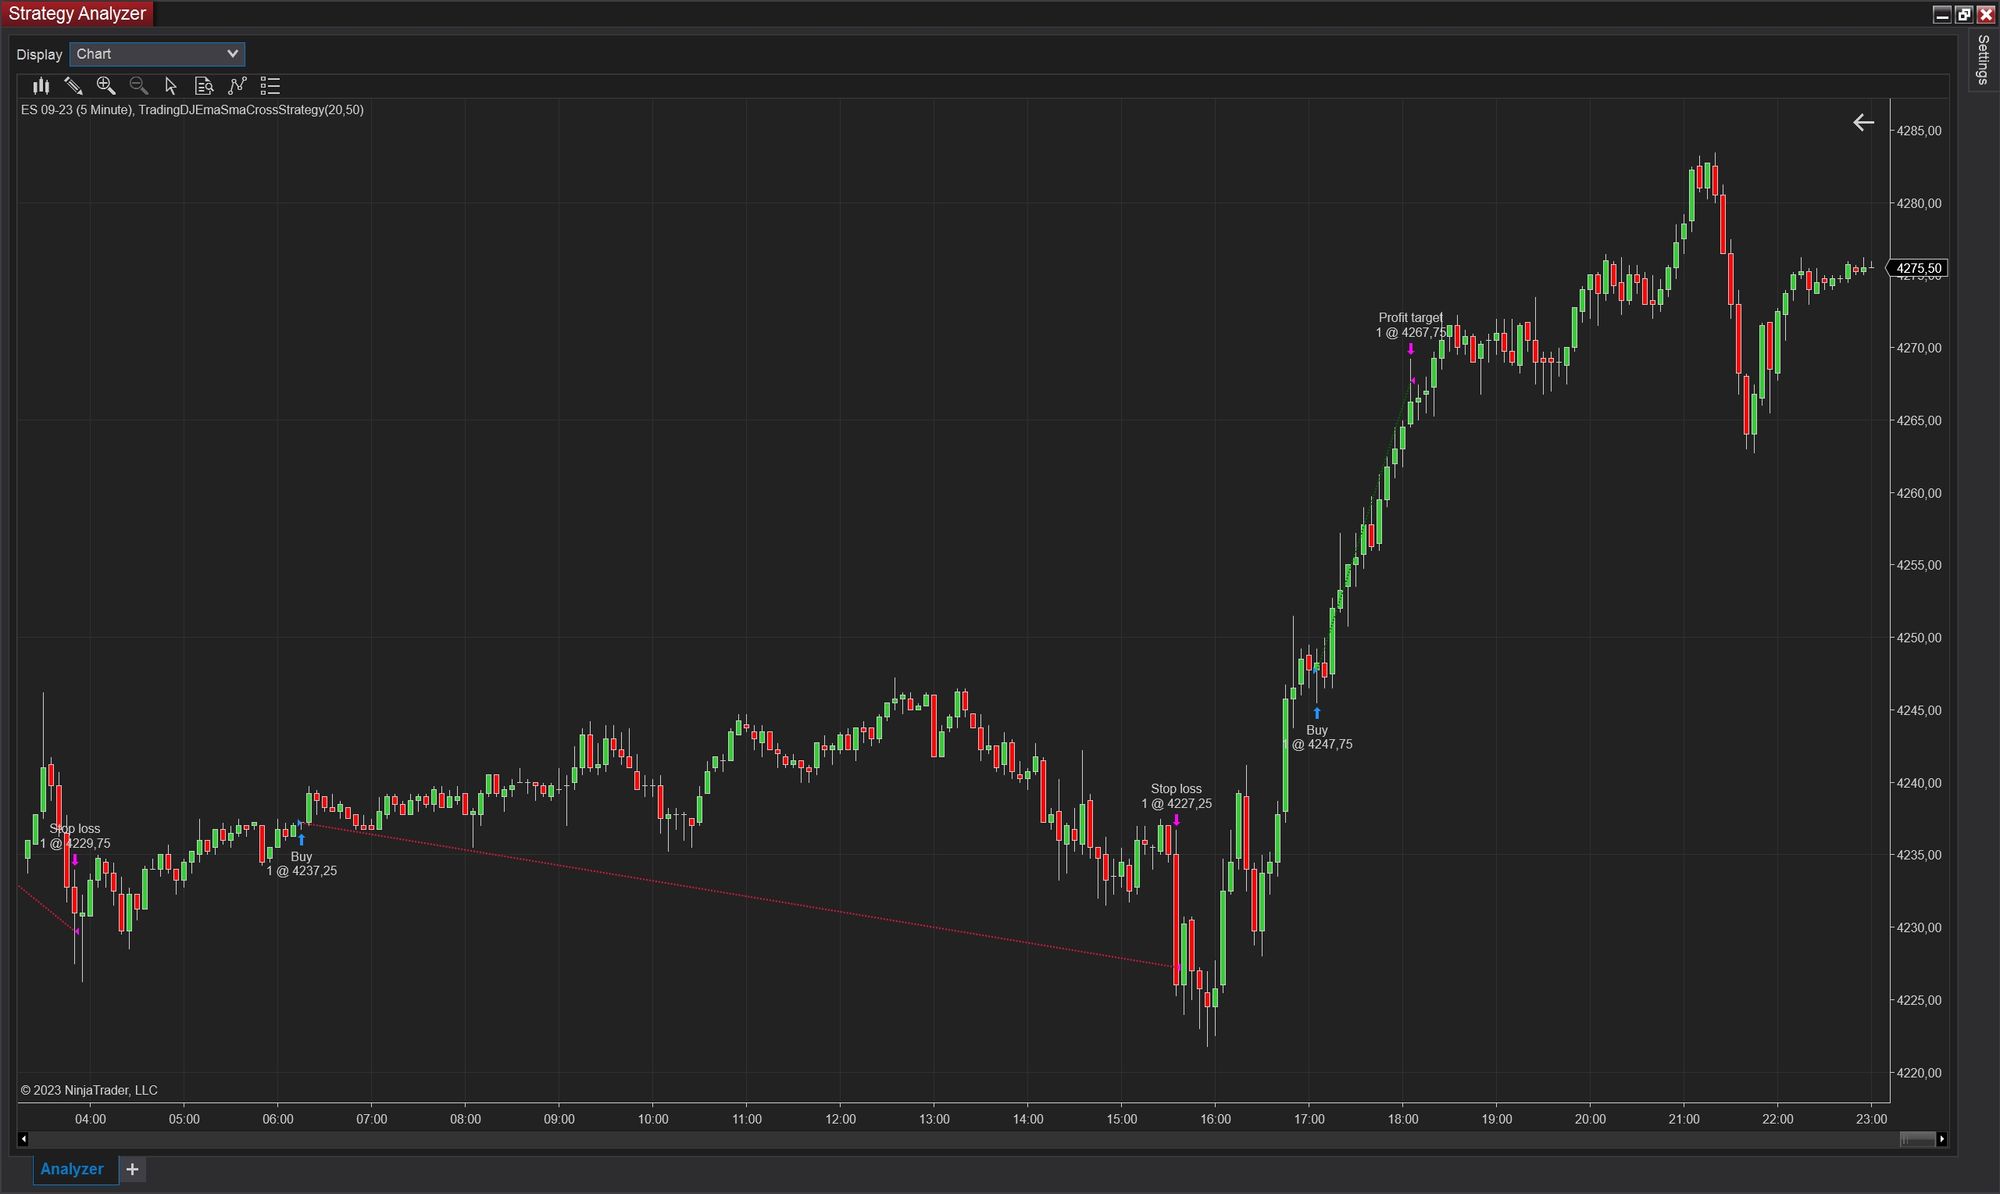
After compiling and running a simple backtest, we can see that now the Strategy uses a fixed profit target and stop loss.
Implementing Custom Profit Target and Stop Loss in Your NinjaTrader 8 Strategy: A Practical Guide
By adding functionality to your strategy and compiling it, you have taken the first steps towards creating a custom trading strategy tailored to your specific trading needs. As you continue to develop your strategy, you can further enhance it by adding additional parameters that provide flexibility and customization options. These parameters allow you to dynamically adjust key aspects of your strategy without the need for recompiling the code.
For example, you can introduce parameters such as "StopLossTicks" and "ProfitTargetTicks" that allow you to set the desired stop loss and profit target levels as inputs. This enables you to fine-tune your strategy's risk-reward ratio based on your trading preferences and market conditions.
To incorporate these parameters, follow these steps:
1. Declare the parameters within the strategy class, specifically in the #region Properties section, below the EmaPeriod and SmaPeriod parameters. This helps organize your code effectively. Specify the data types for each parameter. Here's an example:
#region Properties

[NinjaScriptProperty]
[Range(1, int.MaxValue)]
[Display(Name = "EmaPeriod", Order = 1, GroupName = "Parameters")]
public int EmaPeriod { get; set; }

[NinjaScriptProperty]
[Range(1, int.MaxValue)]
[Display(Name = "SmaPeriod", Order = 2, GroupName = "Parameters")]
public int SmaPeriod { get; set; }

[NinjaScriptProperty]
[Range(1, int.MaxValue)]
[Display(Name = "StopLossTicks", Order = 3, GroupName = "Parameters")]
public int StopLossTicks { get; set; }

[NinjaScriptProperty]
[Range(1, int.MaxValue)]
[Display(Name = "ProfitTargetTicks", Order = 4, GroupName = "Parameters")]
public int ProfitTargetTicks { get; set; }

#endregion
By placing the StopLossTicks and ProfitTargetTicks parameters below the EmaPeriod and SmaPeriod parameters, it helps maintain code organization and readability.
2. Set the default values for your variables by assigning them inside the OnStateChange method, specifically within the if (State == State.SetDefaults) code block.
protected override void OnStateChange()
{
	if (State == State.SetDefaults)
	{
		// Define your strategy defaults
        // ...
		EmaPeriod					= 20;
		SmaPeriod					= 50;
		StopLossTicks				= 40;
		ProfitTargetTicks			= 80;
	}
    // ...
}
3. To utilize the added parameters instead of fixed values, modify the
else if (State == State.Configure) block as follows:
else if (State == State.Configure)
{
	SetProfitTarget(CalculationMode.Ticks, ProfitTargetTicks);
	SetStopLoss(CalculationMode.Ticks, StopLossTicks);
}
You can download the example strategy discussed in this tutorial by clicking the button below. Once downloaded, you can import it into your NinjaTrader 8 platform to start using and exploring the strategy.
Conclusion
In conclusion, creating a custom trading strategy in NinjaTrader 8 allows you to tailor your trading approach to your specific needs and preferences. By leveraging the power of the NinjaScript programming language, you can design strategies that incorporate various entry and exit techniques, utilize different indicators and data series, implement custom profit targets and stop losses.
Throughout this tutorial, we walked through the step-by-step process of creating a basic strategy using the NinjaScript Editor and the New Strategy Wizard. We explored essential concepts such as adding event methods, defining input parameters, and utilizing default properties. We also demonstrated how to incorporate additional conditions and customize the behaviour of your strategy by modifying the code.
By following these guidelines and leveraging the flexibility of NinjaTrader 8, you can unleash your creativity and create sophisticated trading strategies that align with your unique trading style. Don't hesitate to experiment further, combine different indicators, and refine your strategy based on your trading goals and market observations.
Remember to compile your code after making any modifications, and conduct thorough testing and backtesting to ensure the performance and effectiveness of your strategy. With dedication, practice, and continuous refinement, you can harness the power of NinjaTrader 8 to develop strategies that have the potential to enhance your trading success.
Now it's your turn to apply what you've learned and embark on your journey of creating profitable trading strategies using NinjaTrader 8. Happy coding and successful trading!